


How to Start a Fire: A Guide for Your Next Camping Trip
 How to Start a Fire: A Guide for Your Next Camping Trip
thegearhunt.com
How to Start a Fire: A Guide for Your Next Camping Trip
thegearhunt.com
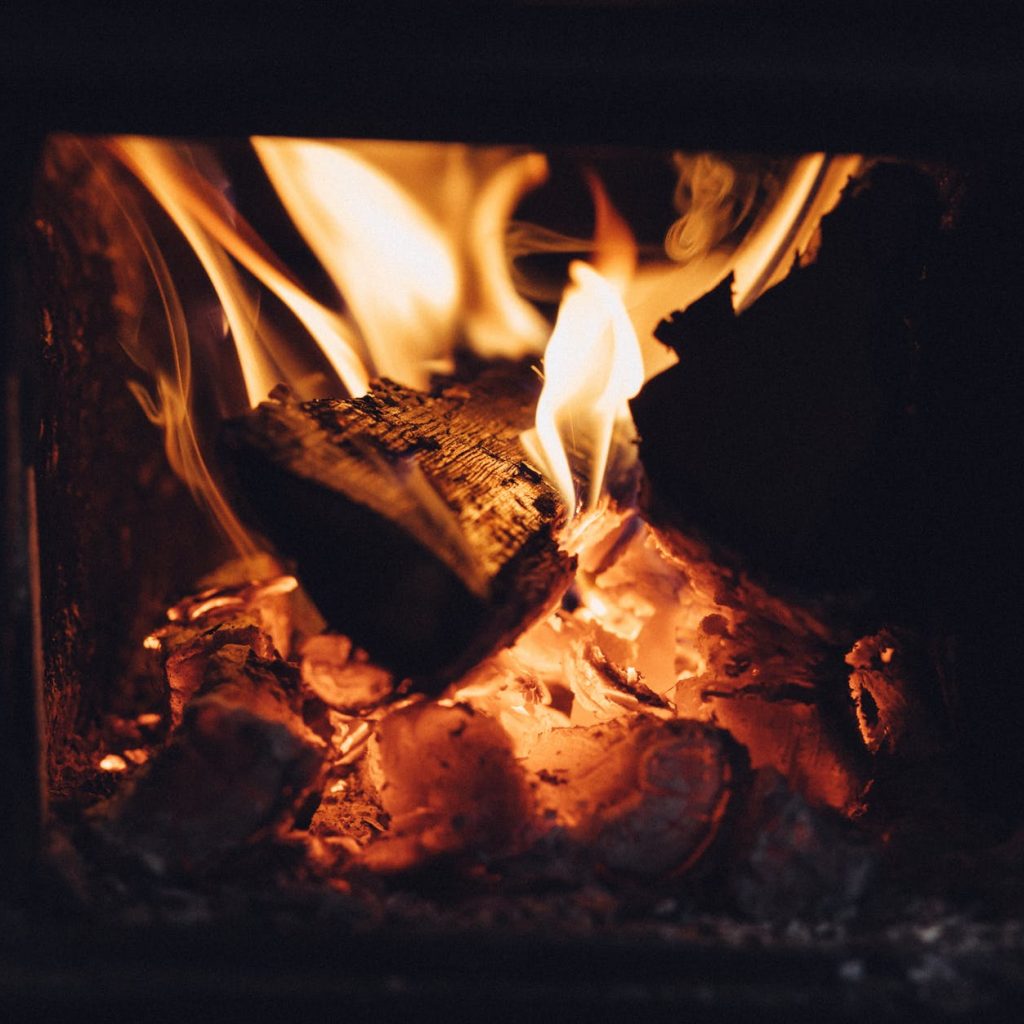
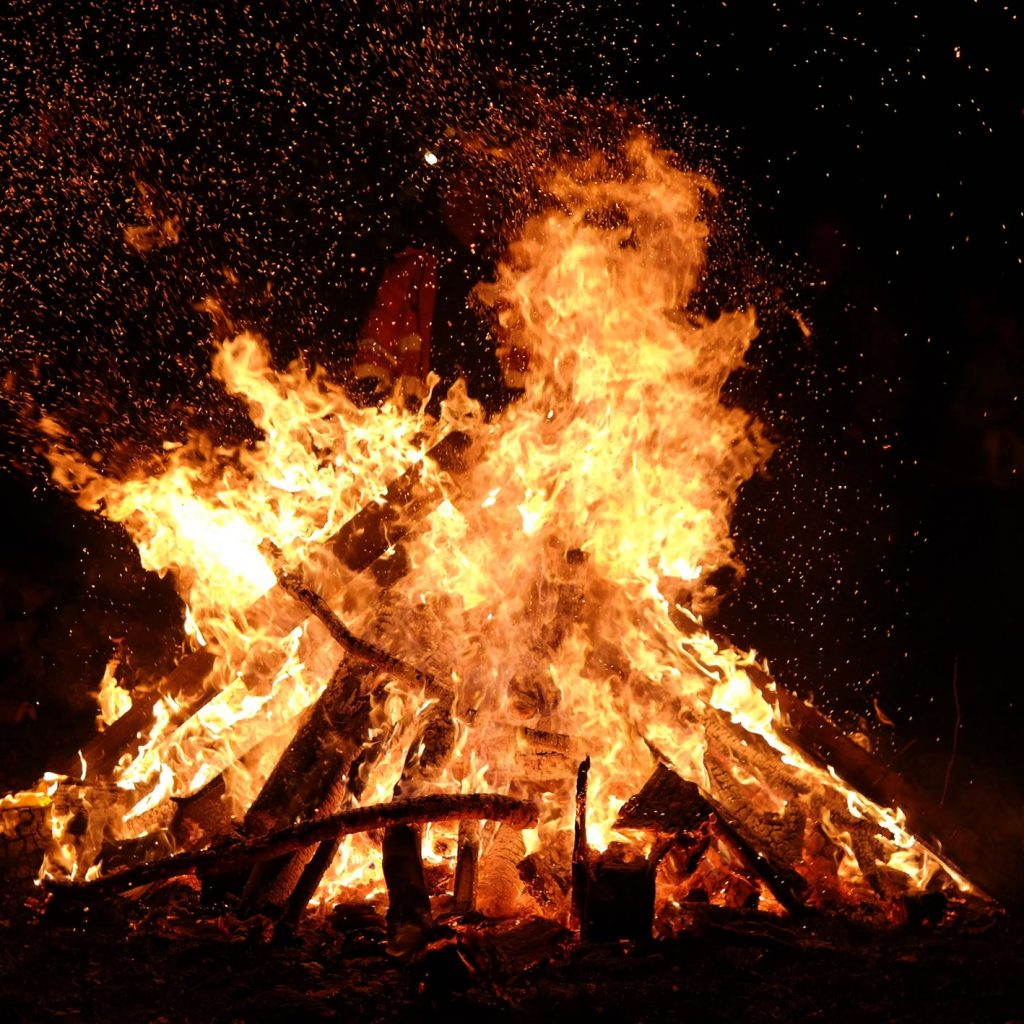
Starting a camping fire
It doesn’t matter if you need to create the right atmosphere, to cook food, or to stay warm, no camping trip is ever complete without the fire. If you don’t have any experience with building one, the process might be one that is a bit intimidating. The key to it is being ready with all of the supplies you need and knowing what you will be using it for. Here is a quick guide to making just the right fire.
Preparing for the Fire
Get the tinder. If you want to start a campfire that is effective, you first need tinder. These are the smallest of the materials needed for a fire and they burn the easiest. Tinder needs to be dry, so you might want to bring it with you to your campsite as opposed to searching for it when you arrive. There are a number of household items that make wonderful tinder. They include things like:
- Commercial fire sticks
- Wax
- Wadded up newspaper
- Dryer lint
- Cardboard
- Wood shavings
 Gather the kindling. If you want your fire to remain burning, you will have to add a bit more substantial materials to your tinder. Your kindling needs to be larger than the materials you used as tinder. However, they don’t need to be so large that the flames get smothered. Take a walk around your campsite and look for things like small branches and twigs that you might use for your kindling.
- Look for branches and twigs with less than ½ inch diameter, or just about the width of a pencil.
- Just like the tinder, the kindling needs to be dry. If the branches and twigs have any areas that are damp, you should whittle them off with a small pocket knife.
Collect your firewood. If you really want your fire to remain burning, you will need to add pieces of wood that are larger. These materials are called fuelwood or firewood, and they can be as large as 5 inches in diameter. This means that you can either use whole logs or ones that you have cut to size.
- You shouldn’t ever break the branches off of trees for you to use them as firewood. If you do this, you will ruin all of the beautiful trees at the campsite. Instead, search for ones that have already fallen to the ground.
- Keep an eye out for firewood that will snap or bend with ease. This is how you will know that the wood is dry enough to burn.
- Try not to get firewood that is overly large due to the fact that it will take longer for it to begin burning. If you aren’t sure about whether the wood you have found is the proper size, just compare it to your forearm or wrist. They need to be of a similar size.
Pack your fire starter. After you have gathered all of the materials you will need for your fire, you will need to have something that you will light it with. Be sure that you include something to use to start your fire when you pack to go camping. This will make it easy to start the fire. You can use matches to start the fire or a lighter.
- You might also consider using a ferro-flint rod for your fire starter. This is also sometimes called a flint spark lighter. You can use it to generate a spark that will assist in igniting your materials for the fire.
Create a Fire Pit
Now, this is important. Before you even start finding your materials, it is critical that you make sure that campfires are allowed. Look around the campsite. If fires aren’t allowed, there will typically be signs posted. You might also ask the host of the campsite or a ranger if they are allowed.
- Never just assume that fires are allowed simply because your campsite has a fire ring. It might be there just to use your camp stove, but not meant for an open flame.
- In some instances, there might be restrictions on fires, and this can limit the kinds of fires that are allowed. Make sure that you have a good understanding of the materials that are allowed in the area for fires.
- Fires might also not be allowed at specific altitudes, when areas are extremely dry, when there is a drought, or when the winds are particularly strong.
 Find a great spot for your fire. Some campsites might have fire rings that were designed for you to build your fires in. That being said, if you happen to have chosen to camp in a site that doesn’t provide these, it is critical to choose the right space for your fire. Ensure that the spot is a minimum of 15 feet away from flammable objects, trees, shrubs, and tents.
- If the campsite has a ring provided, there might still be ashes in it from the last fire that was lit there. Before you being to prepare for your fire, push these ashes out of the ring. If they are cold, you might also put them into a plastic bag to be properly disposed of at a later time.
- Ensure that your chosen spot is protected from gusts of wind, which can make the fire harder to light while also making the flames spread if they get too large.
Once you have found your spot, clear it and dig it out. It is always the best idea if you build your fire on the bare ground. This means that you might need to clear your spot. Get rid of things like leaves, grass, and any other types of vegetation so that you can create about a 10-foot area of nothing but bare dirt for your fire. The next thing you need to do is to dig down a bit into the dirt for a few inches in order to make a pit that will contain your fire.
- Keep all of the dirt that you removed near the fire. You might want to use it later to smother the fire in the event of an emergency.
- You can put the dirt you moved into a mounded sort of ring around the pit so that it will act as an ersatz firewall. Set big rocks around your pit so that they will assist in keeping the fire insulated.
Making a Teepee Fire
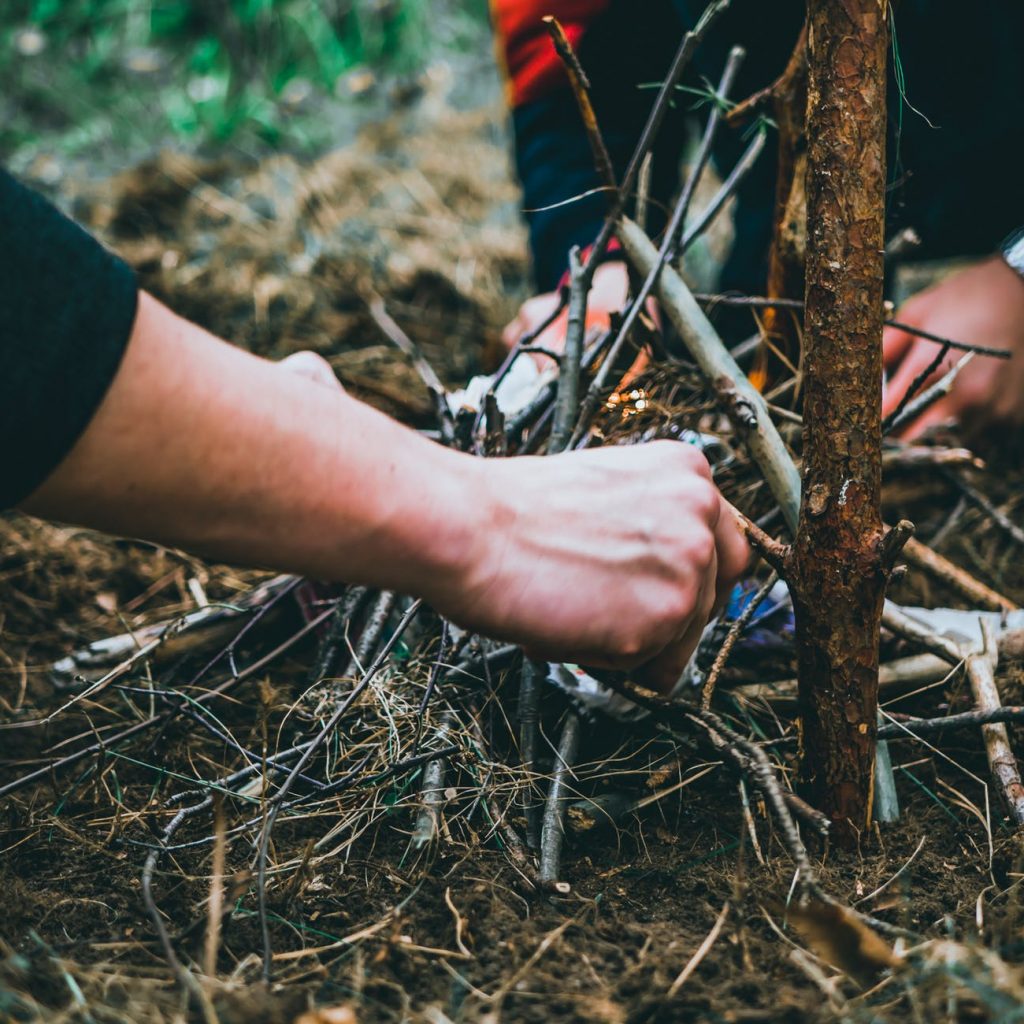 This is one of the different types of fires most often seen at campsites. To get started, you will need to put your tinder in the middle of the fire pit. Campfires need a good foundation of tinder. Gather all of your materials for tinder and fashion them into a bundle that you will then put in the middle of the fire site. If you want to make it easy to bundle your tinder, you might want to place it on a dry piece of tree bark.
Make a teepee structure with your firewood and kindling. Once you have the tinder materials placed, gather up your kindling materials and use 5 or 6 pieces of it to make a cone sort of teepee shape around your tinder. Next, you will add a layer of your firewood in order to make a second, larger teepee around that one.
- Stick smaller branches and twigs in the ground in order to secure your kindling teepee.
- Begin with the smallest pieces of kindling before moving to the larger pieces.
- Be sure that you leave a sort of opening in your teepee so that you will be able to light your fire once you are ready to. Ensure that the hole is on the side that the wind is blowing on. This will ensure that your fire gets the air it needs.
- Leave a bit of space between the various pieces of wood as you create your teepee so that the air will be able to get through to all of them.
- Remember to keep back a pile of firewood and kindling even after you build your teepee. You might need it later on to feed your fire.
Now it is time to light your tinder. Once you have your teepee built, it is time to get the fire started. Put your lighter or a match underneath the tinder in order to light it. The structure of the teepee assists in encouraging the flames to move up. This means that the kindling will catch before the firewood will. If your flames don’t go from the tinder, on to the kindling, and then finally to the wood, you might need to light the tinder again.
Add firewood and kindling as necessary. As your fire burns, the structure of the teepee will collapse eventually, and it will help with feeding the fire for a while. That being said, the flames will begin to die out after some time. When this happens, just throw a bit of firewood and kindling from the reserve pile on the fire to keep it going.
This type of fire is excellent for cooking since it will steadily burn for a short period of time.
Putting the Fire Out
You are always responsible for extinguishing any fire that you ever start, and if you haven’t done it before, it might take longer than you think. In order to prevent leaving any ashes smoldering, you need to make sure that you give yourself plenty of time to get the job done right. Prepare to spend a minimum of 20 minutes putting it out so that you will be sure that it is completely extinguished.
Remember to never leave any fire unattended, and this means that you need to make sure that it is out before you turn in for the evening.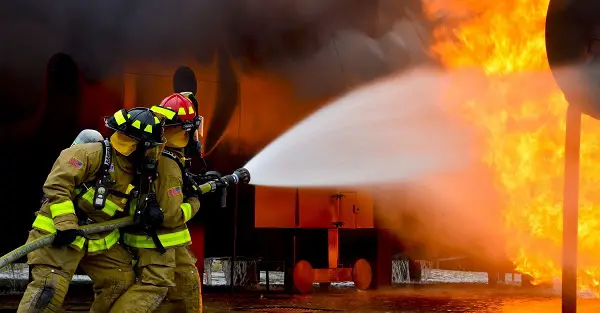
Sprinkle the fire with water. Yes, it might be tempting to throw a bucket of water on your fire to get it out as quickly as possible, but that is far from the best way to get a campfire put out. Instead, sprinkle it with water slowly and only use what you need in order to put the embers out. Pouring water on it is never a good idea because it will flood your fire pit, and this can make it unable to be used for the next time you or someone else needs to light a fire there.
Stir your embers. As you are sprinkling water over it, you will need to make sure that it reaches as many of the embers as it can. To do this, you will need to use a stick or a shovel to stir the embers and ashes while you are sprinkling the water. Be sure that you bring the embers up from the bottom of the fire so that none are left smoldering. You will know when you have sprinkled enough water and stirred enough of the embers when you can‘t hear any hissing sounds and don’t see any more steam.
Test the heat. When you want to be sure that you have successfully put the fire out, you will need to ensure that it isn’t putting out any more heat. To do this, put your hand with the palm facing upwards over the ashes. When you can’t feel any heat, it means that the fire is completely out. However, if you are still able to feel the heat from it, it is still lit, and you should not leave. Continue adding water and stirring ashes until you can’t feel the heat anymore. Repeat this procedure as much as you need to in order to be sure that your fire is completely dead. With things of this nature, it is far better to be safe than to be sorry.
Get rid of the ashes. Once you have ensured that the fire is completely dead and cold, you need to get the ashes out of your pit or ring so that the next person camping there doesn’t need to deal with your mess. Use your hand or a shovel to scoop them up and put them into a plastic bag so that you can dispose of them. As you are leaving the campsite, you can spread the ashes around all over the ground to get rid of them.
Sources
- YouTube, How to Start a Campfire
- Reserve America, How to Start a Campfire
- Dummies, How to Start a Campfire
- Trip Savvy, How to Start a Campfire