Survival Foods: How to Make Hardtack
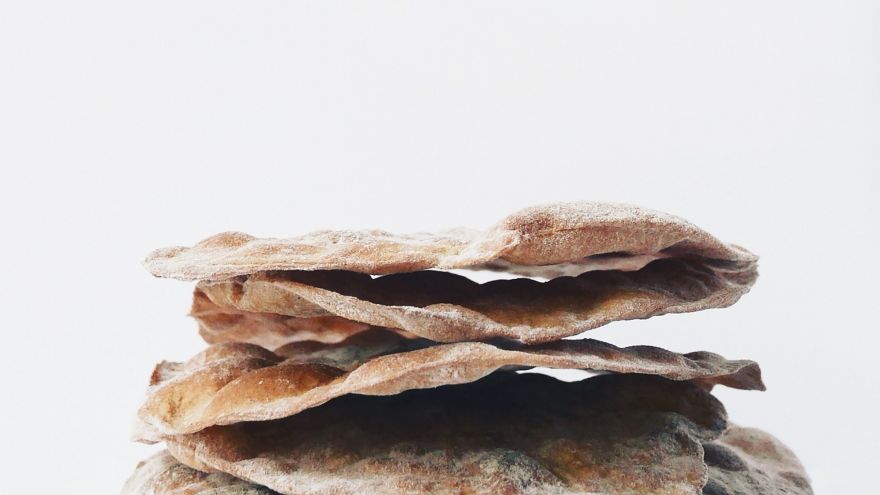 Survival Foods: How to Make Hardtack
thegearhunt.com
If you are a survivalist, then you already know you’re not going to be able to fit a whole lot in your emergency or “bug out” bag when you’re on the go. It’s also important to note that you’re not going to have a fridge to keep things cold in and probably won’t have any electricity to cook with either. While there are many people out there who will tell you that preppers and survivalists are just asking for trouble, there is real evidence that something is coming, and it’s best to be prepared for that eventuality. Even if it’s not a zombie apocalypse or an EMP that takes the world off the grid, natural disasters happen on a daily basis, leaving thousands injured or fatally wounded and millions more without power and food to feed their families.
Luckily, as a prepper, you already know how important it is to ensure that you have a bug out bag prepared, and plenty of food to sustain and feed your family until the power is back on, or until you can get somewhere safe. One of those foods is hardtack. While there are many foods that you can take with you on the road and foods that have a long shelf life, such as pemmican and deer jerky, hardtack has been on a true survivalist’s menu for centuries and it’s not going anywhere anytime soon. It’s a survival food that can sit on your shelf for many years and not have a chance of going bad.
Hardtack goes by many different names. We will list those names below for you.
- Pilot bread
- Ships biscuit
- Ship biscuit
- Sea biscuit
- Sea bread
- Dog’s biscuit
- Sheet iron
- Tooth dullers
- Molar breakers
- Worm castles
- Cabin biscuits
While these names may make hardtack sound more than a little unappetizing, this unappetizing biscuit may be one of the things standing between you and your family being hungry one day soon.
In this blog, we’re going to go into the different ways to make hard hardtack, soft hardtack, and also fried hardtack. We’re also going to go into the history of the many named food and quite a bit more, including some of the things you don’t need to pack in your bug out bag if you hope to survive any kind of a disaster.
So, if you’re ready to learn a little bit more about being a survivalist and how to make hardtack, grab your gear and let’s get going.
What is Hardtack?
By definition, hardtack is a hard biscuit or bread often used by soldiers and survivalists. It’s actually still a staple for people who live in Alaska but can’t be found in grocery stores here. It’s made out of water, flour, and often salt. It’s inexpensive, long lasting, and has saved many people from hunger in the past.
A Brief History of Hardtack
History shows that hardtack has actually been around since the Egyptian times. However, most people remember hearing about it from the Civil War Era, when it was shipped to both the Union and Confederate armies to be a staple part of their rations.
Since the hardtack was made like six to seven months before it ever reached the troops, it was hard as a rock by the time they received it. The soldiers used to soften up the biscuits by soaking them in water before eating. They also soaked it in coffee, not only because it made it easier to eat, but also because the water and coffee would bring any insect larvae that had settled into the hardtack during the journey to the top of the water so they could skim it off where they wouldn’t end up eating the larvae as well as the hardtack.
While you don’t have to worry about the insect larvae today and the stuff is great to have for emergency situations, it’s not something that you would want to prepare and pull out to feed your guests at your next Saturday night dinner party.
However, if you are a true prepper, then you already know you need this staple in your cabinet when times get tough. But why you might ask? Read on below to find out.
Hardtack Has a High Shelf Life, is High in Calories
At one time or another, many soldiers and sailors have eaten hardtack in order to keep from being hungry, everywhere in the world. It is high in calories and has a long shelf life, making it perfect for survival situations. Believe it or not, even some people who claim to be preppers have never heard of it and don’t have any idea out to make it. We hope to fix that in this blog.
It’s super easy to make, has only three ingredients, unless you add more, and takes about 30 minutes to cook and prepare. How simple is that? However, it’s not very friendly to your waistline if you’re trying to cut down on your carbs. But, then again, if you’re running from the zombies or living off the grid due to an EMP strike, carbs are probably going to be the least of your worries, so you’re all good.
Now that we know the history of hardtack, names it likes to go by, and what it’s used for, it’s time to learn how to make it in its different varieties. It’s easy to make, easy to cook, and easy to store. What else could you ask for in your survival food? Now, join us as we delve into the world of making hardtack so you can feed your family when the inevitable happens or the zombies attack, whichever comes first.
How to Make Basic Hardtack
What You’re Going to Need
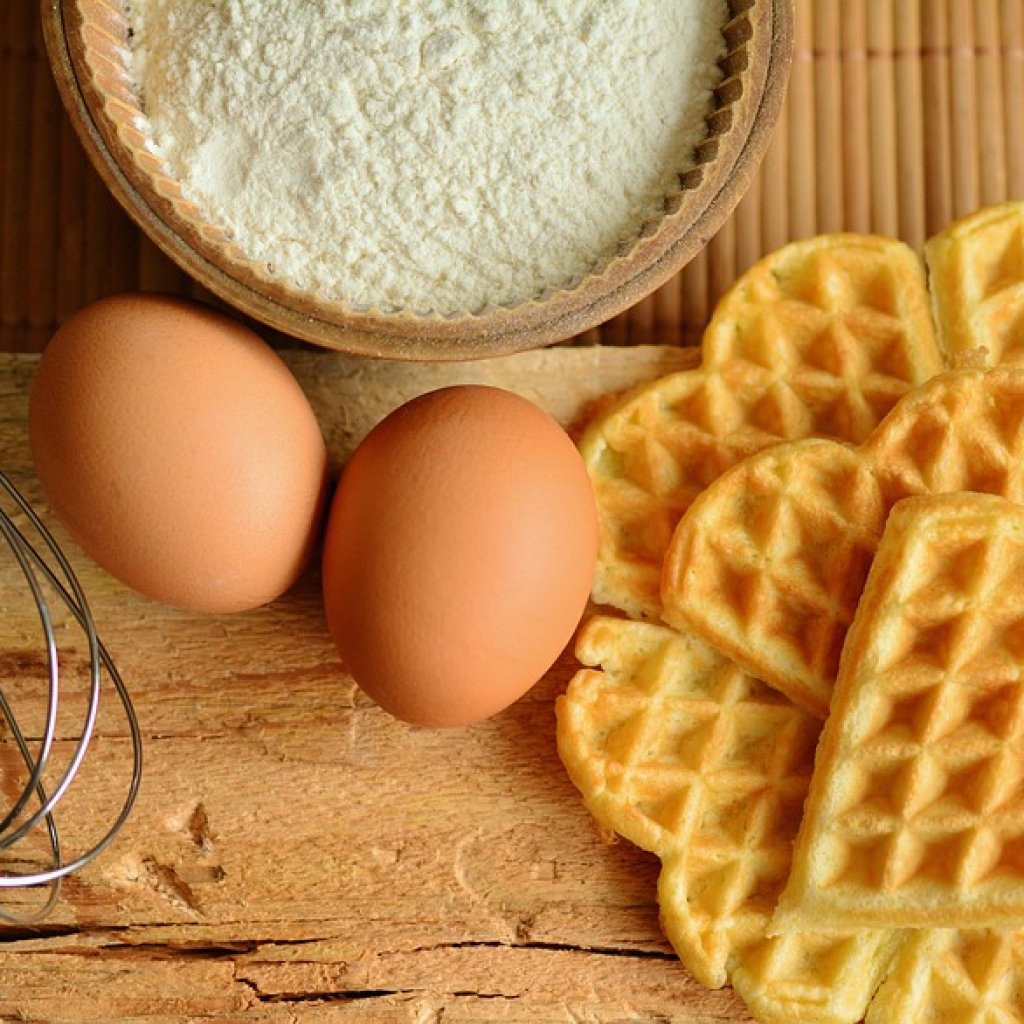
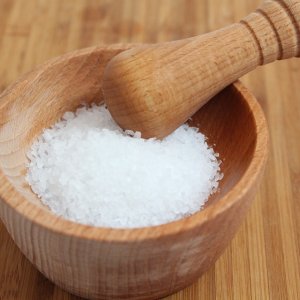
- 2 teaspoons full of salt
- 3 cups of all-purpose white flour (self-rising flour won’t work)
- One cup of water
- One cookie sheet
- A knife
- A rolling pin
- Mixing bowl
- And a skewer
- Preheat oven to 375 degrees
How to Make it
- Mix your flour and salt in your mixing bowl
- Slowly add your water to the mixture, forming a ball as you go. The ball should not be sticky or stick to your hands.
- Roll your dough on your cutting board to about a ½ an inch thickness, no more than that.
- Once you’re done, cut the dough into 9 square pieces, then use your skewer to put 4X4 holes into each square in a grid-like pattern
- Transfer to an ungreased cookie sheet and bake for about 30 minutes
- Once they are brown, flip them over and let them cook for another 30 minutes on the other side
Of course, you already know that oven temps and times vary a little, so keep a close eye on your hardtack as it cooks. The hardtack should be slightly brown on both sides and hard when done. The hardtack should last you for many years.
It’s best to store it in a Ziplock bag unless you’re going to be storing it for years, then you might want to invest in a food vacuum storing system instead for longer shelf life.
How to Make Soft Tack Instead
If you have a problem with your hardtack being so hard, then you can adjust the recipe a bit and make soft tack instead.
What You Will Need
- 2 cups of water
- 4 cups of all-purpose white flour (Once again Self-rising flour will not work)
- 4 teaspoons of salt
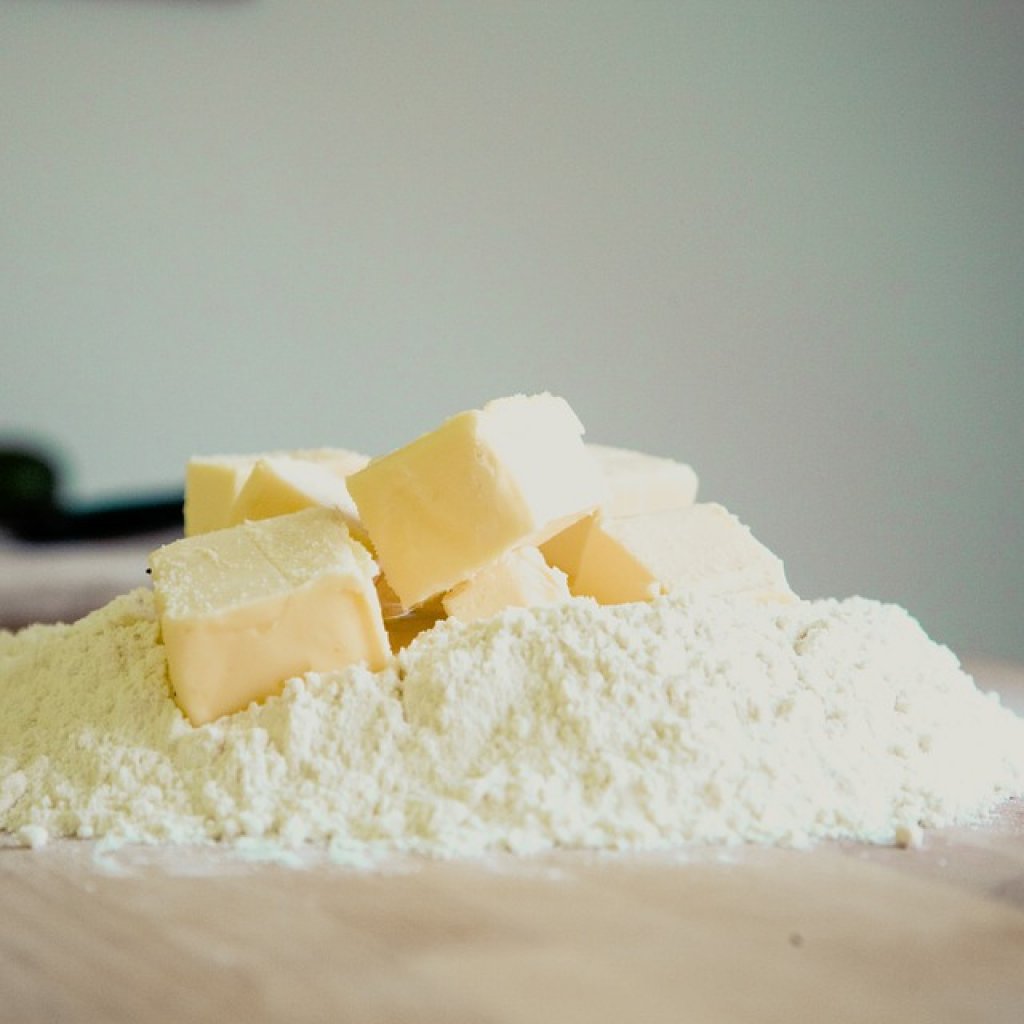
- 2 tablespoons of either cold butter or margarine or shortening
- Preheat oven to 375 degrees
- Everything else needed for the basic recipe
How to Make It
- This is cooked basically the same except for these changes
- Crumble the butter into the mix
- Cut into 3×3 squares
- Cook for 30 minutes only
- Allow time to cool
- Then store in a Ziploc bag in the fridge if possible
How to Make Fried Hardtack
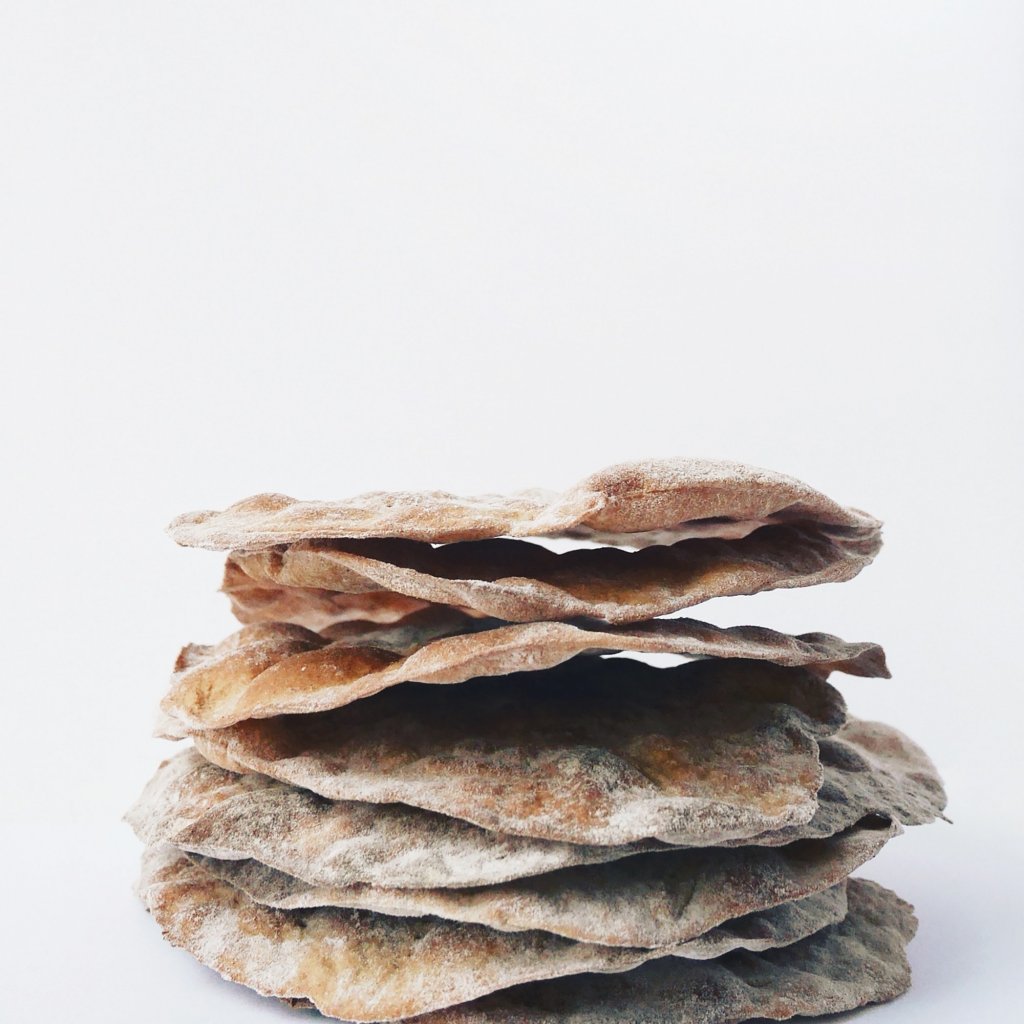
You can make fried hardtack as well, using either of the recipes above. Simply follow the instructions above, then flatten pieces of the dough with your hand. Fry the dough at low heat in olive oil, if you don’t have olive oil another kind will work. Cook just as you would a pancake, flipping until done. You can drizzle honey or syrup over the finished product and eat it as a treat or for breakfast. You can even soak it overnight and make it for waffles the next morning as well. Sugar and cinnamon can be added to hardtack as well. It’s important to note at this point that making fried hardtack or soft hardtack decreases the shelf life of the biscuits.
Another warning to note is if you have dental issues, fragile teeth, braces, crowns or fillings, it’s not a good idea to eat hardtack unless you’re in an emergency situation and have no other choice. And, that’s how you make hardtack in three different ways. Remember, it can also be added to foods such as soups and stews, so look up some recipes that you would like to try on your family. Remember, this isn’t something you would want to feed to your guests, but it is something that could save your family from starvation in an emergency situation.
Now that we are done with the section on how to make hardtack, let’s talk a little about the stuff you don’t want to pack in your emergency bag if you and your family hope to survive an emergency situation.
Things NOT to Pack in Your Emergency Bag
The one thing to stress before we get into this portion of our blog is that every emergency bag should be unique to your situation and each person with you. These are just a few things that most people truly don’t need to pack in their emergency bag.
Sleeping Bags
It’s going to be rough enough walking or hiking along the road with what you absolutely have to have in your emergency bag. Sleeping bags are heavy and will take up space that could be used for something more essential. Instead, try packing an emergency bivvies’ instead. The thing to note here is that you need to determine which type of climate you live in when you make this choice. Living up north where it freezes means that you shouldn’t, but if you live in the south then you should be fine.
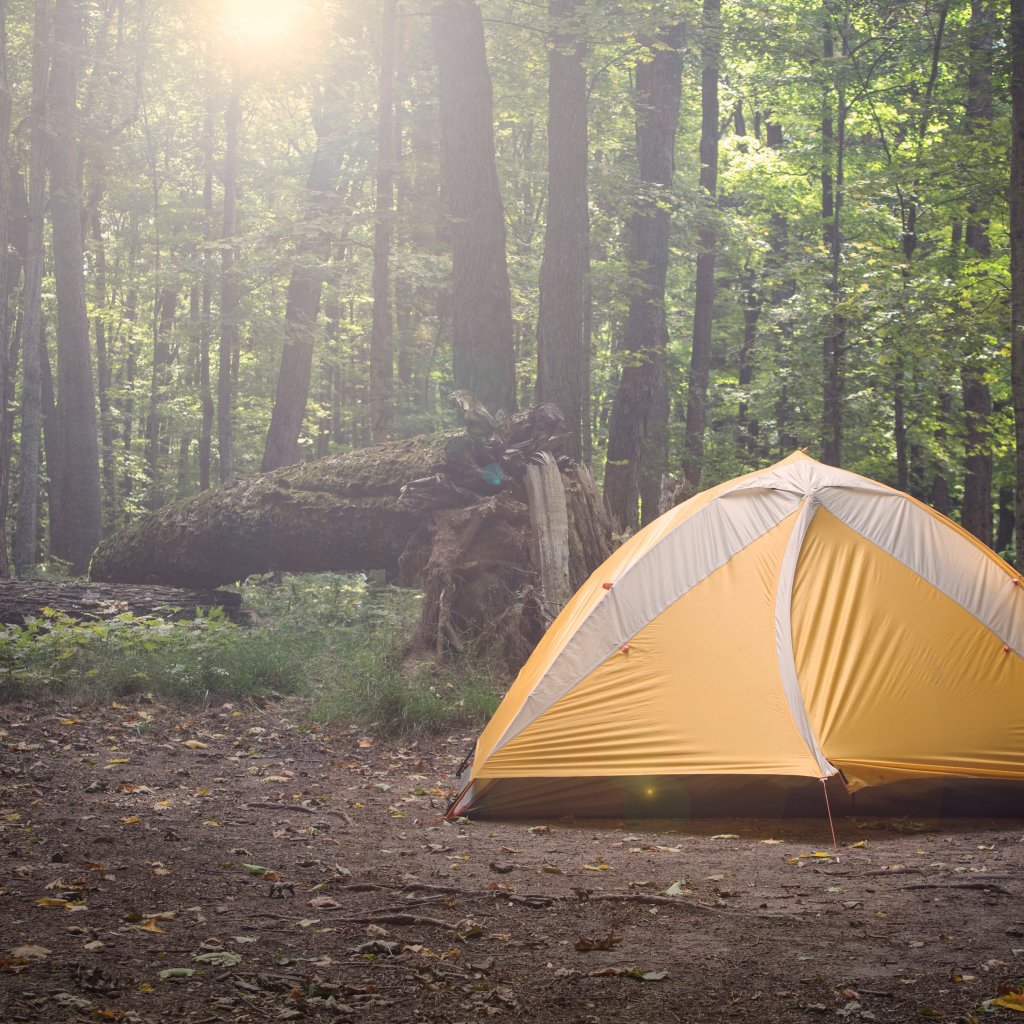
A Tent
This one should pretty much go without saying. A tent is heavy, cumbersome, and takes up a lot of space. Instead, try bringing a tarp and then building your own shelter. This will take five to 10 pounds off your bag, which can be a lot when you’ve been on the road for hours, are exhausted, hungry, and ready to give up.
Other Items Not to Pack
- Camping tripods
- Flare guns
- Camping lantern
- A flare gun
- A bunch of bottled water
- Cast iron skillets
- Toiletries
- Plates and utensils
- Games
- Heavy tools
- Extra gear
- And extra ammo
Your emergency bag should be light and not weigh you down, because if you’re in a survival situation and on the road, you’re not going to want to have any more on you than you have too.
Tips to Lighten Your Emergency Bag
There are a few tips you can follow to actually lighten your emergency bag below as well.
- Get lighter versions of the items you are going to carry with you
- Bring items that can serve dual purposes
- Lighten your stuff
- Get in shape now, because once something happens and you’re on the road you will be out of shape and very unhappy
This concludes our blog on how to make hardtack, what you should know, and even a little extra about what to avoid and how to lighten your bug out bag. Until next time, stay safe, everyone!
Sources:
- Urban Survival Site: 17 Things Not to Pack in Your Bug Out Bag
- Survival Mom: Hardtack: The Best Thing Before Sliced Bread
- Survival Life: Survival Food 101: Hardtack


