


Survival Skills: How to Make Cheese
 Survival Skills: How to Make Cheese
thegearhunt.com
Survival Skills: How to Make Cheese
thegearhunt.com
Survival situation. These are two words that we are hearing in the news on a daily basis, whether it’s because of terror attacks in our schools and churches or a natural disaster that sweeps through taking lives and the power with them when they go.
In a world of complete uncertainty, one thing that preppers depend on is the ability to make their own food and prep for a survival situation if needed. One of the foods that you need to learn how to make to survive is cheese. Actually, if you think about it, making your own cheese can even help you when there isn’t an emergency at hand. If you are a cheese lover, then you already know the exorbitant amount they want to charge at the grocery store.
The first thing to note when it comes to cheese is that it can be stored in a couple of forms. You can store it in freeze dried cheese and cheese powder form. When it comes to storage life, however, it’s important to note that cheese doesn’t have the best shelf life. Does that mean you can’t have fresh cheese if you’re a prepper? Of course not, and there are ways to make fresh cheese as well. We’re going to talk about one of those ways below.
In this blog, we’re going to talk about some tips on how to make cheese. However, that’s not all we’re going to talk about. We’re also going to discuss some foods that you need to put in your emergency or “bug out” bag, some items you might need to take out, and we might even squeeze in some facts about cheese you didn’t know, just for fun.
With that in mind, let’s dive right into our latest survival skills blog and learn how to make cheese together.

How to Make Homemade Cream Cheese
While you can learn to make various cheeses, one of the easiest to make, and the one we’re going to learn about in our blog today is cream cheese. It goes with a variety of dishes and if your family already loves it, it’s the best place to start in our cheese making class. Ready to learn? Then, let’s do this.
What You’re Going to Need
- A ¾ cup of whipping cream
- 3 cups of half and half
- ¼ teaspoon of salt
- Another 1/8 teaspoon of salt
- 1 and a half tablespoons of cultured buttermilk
Let’s Make Cream Cheese
- First, you want to combine the half and half and whipping cream together in a heavy saucepan, cooking on low heat until your mixture reaches 90 degrees.
- Once you’re ready, stir in your buttermilk.
- Pour the mixture carefully into a large glass bowl, then cover it with plastic wrap.
- Wrap one of your largest towels snugly around the bowl, then put it in your oven with the light on. If you don’t want to do this, you can put the bowl in a warm place instead. You want to temp to be around 85 degrees and let the mixture sit for around 28 hours or until it has the consistency of soft yogurt.
- Cut several different thicknesses out of cheesecloth, making sure they are big enough to fit over a large colander, with room for about 4-inches to overlap the sides.
- Put the colander, with the cheesecloth inside, in your sink, then pour the mixture carefully into the colander.
- Let it drain for 20-minutes, then put the colander into a large container to drain completely.
- Once it’s drained, cover them both tightly with enough plastic wrap to form a seal that is airtight, then place both in the fridge for 12 hours.
- Put the cheese mixture into a bowl, then add your salt.
- Repeat the process of cutting out your cheesecloth, only this time cut them into 4 eight-inch square pieces, then stack your layers on top of one another.
- Now, it’s time to spoon the cheese mixture into the very center of the cheesecloth, then wrap the rest of the cloth around the mixture, tying it securely.
- Pat the mixture until it is in the shape of an oval or a round shape if you prefer.
- Place your neat, rounded package of cheese over a wire rack in a shallow pan, then cover it tightly with plastic wrap.
- Place the entire thing in the fridge for up to two days, or until it is well-drained and firm.
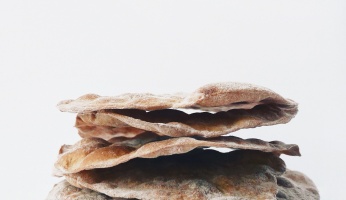
- Unwrap your cheese and enjoy!
- It can keep up to five days in the fridge
You have just learned to make your very own cream cheese. There are many more types of cheese that you can learn to make for yourself and your family. Do your research, look up a few recipes online and see which ones you think your family might enjoy.
Now, that we know how to make our own cream cheese, let’s move into a section on a few facts about cheese you might not have known. Just a little bit of fun, before we get into a section on survival foods you should put in your bug out bag and some things you should take out as well.
Facts About Cheese You Might not have Known
I think it’s safe to say that my family is all about cheese. Whether it’s parmesan grated onto our spaghetti or several different types of cheeses gracing our sausage and cheese trays the night of the big game, cheese is something of a fan favorite in this house. Is it one in yours? We figured we would throw in a few facts about cheese, just in case you didn’t know them.
- Cheese was actually created more than 4,000 years ago completely by accident. A happy accident for us for sure!
- It takes 10 pounds of milk to make even one pound of the cheese we love to nibble on.
- Over 25-percent of the cheese made in the U.S. is made in Wisconsin.
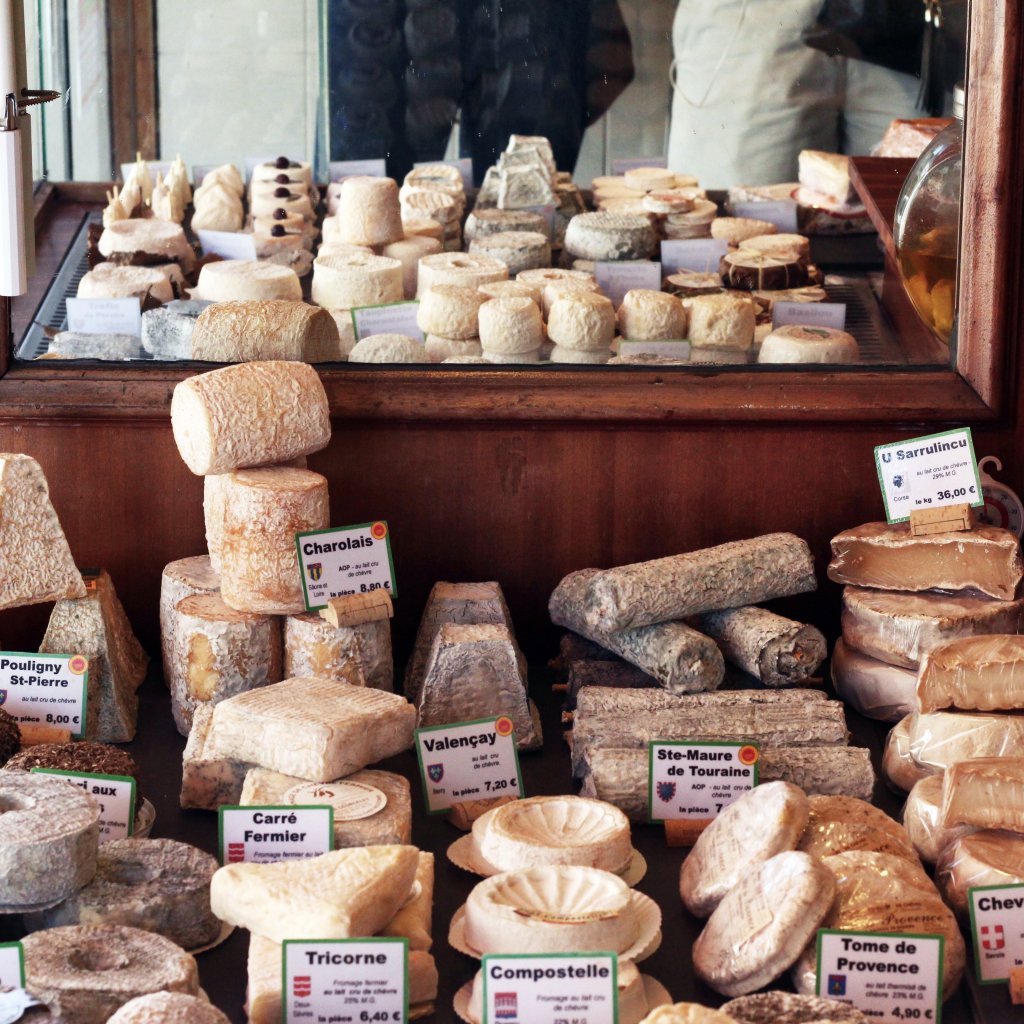
- Believe it or not, some cheeses are illegal to have in the United States, due to the high levels of bacteria in them. They are thought to be unsafe for consumption. You can get some of them in France, however, if you must have that specialty cheese.
- Storing cheese in caves is an actual real thing.
- Mice actually don’t like cheese contrary to popular opinion.
- Lactose-intolerant people can eat cheese.
- There’s a specific reason certain cheese names are capitalized.
- Curd sizes yield different types of cheese.
- Out of the 60 master cheesemakers in the United States, 60 of them live in Wisconsin.
These are just some fun facts about cheese that we figured you might want to know. You can look them up and do your research to understand them more if you want!
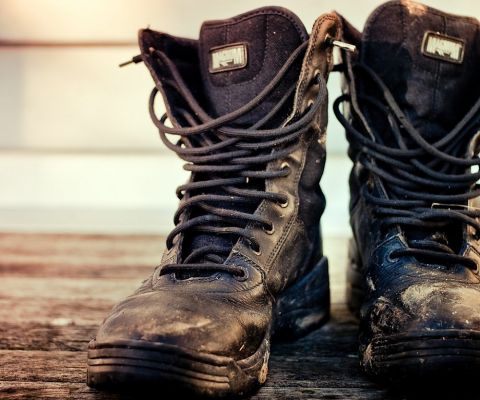
Items You Need to Take Out of Your Bug Out Bag Now
It seems like everyone out there has their own opinion as to what should go in a bug out bag and what shouldn’t. While the choice is ultimately yours, depending on your individual needs, it is important to note that you are going to be carrying this bag across many, many miles should something happen and you have to leave, so there are a few items that you need to take out of your bag to ensure it’s light enough for travel.
Canned Food
Canned food is going to weigh your bag down and make it quite bulky to carry. This isn’t to say that you shouldn’t stock up on canned foods, they are just better for staying in than striking out.
Tools that will Add Weight to Your Bag
While you do need tools in your bug out bag, it’s important for those tools not to weigh you down as well. While it may be tempting to pack your shovel, hammer, and other heavy items, it’s best not too. It’s better to pack a swiss army knife and a multi-tool, which can help and is much lighter than the things above.
Anything that is Cast Iron
Cast iron is heavy. It’s as simple as that. You won’t get very far on the road if you have cast iron pots or anything else in your bag. Since you do still have to eat on the road, try to find the lightest pots and pans to carry with your instead, and not a ton of them either.
Other Items to Remove from Your Bug Out Bag Now
- Heavy sleeping bags
- Tents
- Plasticware
- Excess toiletries
- Most camping lanterns
- Bottles of water
- Flare guns
While all of these items have their place in a prepper world, they are not the things that you want to take with you when you have to head out on the road. There are a few things that can be substituted for these things that are much lighter and a lot less bulky to travel with. Try a few of those and see how much lighter your bug out bag is. Do it now, instead of waiting until an emergency happens, so you aren’t panicking trying to get it done before you have to leave.
Foods that Belong in Your Bug Out Bag
Now, that you have removed, and replaced the things that don’t belong in your bug out bag, you’ll have room for the foods that should be there instead. Many people struggle when it comes time to put foods in a bag that won’t spoil, be light enough to carry, yet still give you the strength and energy you need to keep going in rough conditions. In our next section, we will talk about and list a few of the foods that you should put in your bug out bag.
While it has been proven that you can go without food for 3 weeks before you perish, if you’re like us, half a day without eating can make you cranky as all get-out. That’s why we think it’s so important to have a good variety of survival food in your survival bag. This doesn’t mean that you should take all of your survival items out and replace them with nothing but food, that won’t work at all. Take a look at the foods below and decide which will work best for you and your family’s needs, then add them to your bag for safe keeping.
Protein Rich Foods
- Tuna pouches
- Beef jerky
- Pemmican
- Packets of peanut butter
- Salami
- Meat paste
- Dehydrated hummus
- Dehydrated bean paste
Food Bars
- Emergency food ration bars
- Probar
- Honey Stinger bars
- Cliff bars
Nuts, Seeds, and Fatty Foods
- Brazil nuts
- Almonds
- Cashews
- Walnuts
- Pistachios
- Peanuts
- Sunflower seeds
- Pepitas
- Hard aged cheeses with the wrapping attached
- Olive oil packets
- Avocado powder
Carb Rich Foods
- Trail mix
- Banana chips
- Dark chocolate
- Nutella
- Dried fruit
- Cook in the pouch meals
- Fruit leather of any kind
These are some of the best foods to put in your bug out bag so that you can survive and have the energy and strength to reach your destination. Being prepared is a great thing, but if you don’t have the strength or food to get you where you’re going, then being prepared isn’t going to do you a whole lot of good.
From preparing by upping the security on your home to ensuring you don’t keep all of your prep in one location and from building a network of trusted people who are preppers to making stuff like cheese to carry you through, being a prepper isn’t easy but it can be done.
This concludes our blog on how to make cheese and a few other things you should know if you’re going to be a serious prepper. Until next time, stay safe, enjoy your cheese, and happy prepping, everyone!
Sources:
- Primal Survivor: 50+ Bug Out Bag Food Ideas
- Survival Mom: Skill of the Month: Make Your Own Cheese
- Taste of Home: 10 Amazing Facts About Cheese You Need to Know