


Survival Skills: How to Build a Quinzee
 Survival Skills: How to Build a Quinzee
thegearhunt.com
Survival Skills: How to Build a Quinzee
thegearhunt.com
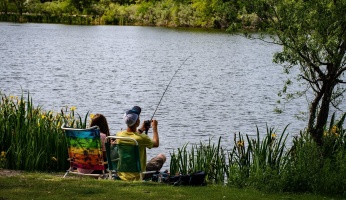
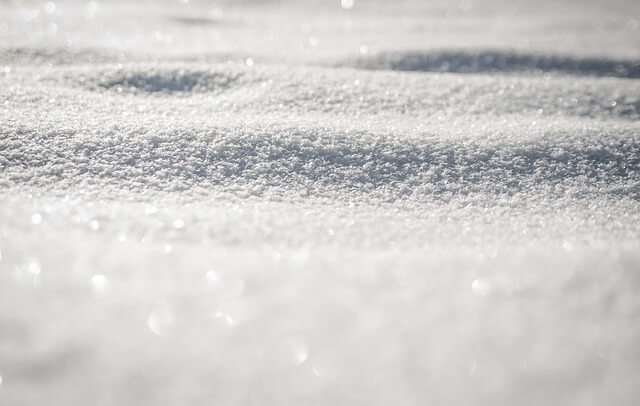
During the winter in north Illinois, we get quite a bit of snow. One great thing to do when there is a lot of snow is to build a Quinzee out of it. These quinzees are surprisingly large on the inside… large enough that you might be shocked. The walls are strong and thick, and during the day, the interior of it just glows. On dark nights, quinzees that are lit by candles will glow yellow when viewed from outside of them. Once it has been built, this structure is both safe and surprisingly warm.
I will walk you through how relatively easy it is to build this structure, but before we get started on that, let’s take a quick look at a few other types of snow structures and discuss why they aren’t great for the typical camper or even to build in your own back yard.
Igloo
 To me, the igloo is the ultimate structure made from snow. Who doesn’t want to build one? The thing is, many people try and fail to build one because the conditions we live in just aren’t right.
You make an igloo by cutting blocks out of tightly packed snow by using a saw, and then you stack them up in a circle, building it up in such a manner that the sides of the igloo will slope gradually in until they finally form the domed roof of it.
When I have tried to accomplish this, it will get to about 4’ tall before collapsing, or I just give up because it is exhausting.
The big problem with building this sort of structure is that if you don’t live in a place that gets massive amounts of snow, you won’t have enough of it packed tightly enough that you can use a saw to cut it into blocks. That just doesn’t happen unless you are truly way up north.
So, instead, people try to get containers that they can use as molds for the bricks of snow. The idea is that you will pack the snow into the mold tightly. When you have done that, just turn it over and the blocks of snow should pop out.
The unfortunate thing about this is that it only works when you have the right conditions for packing the snow, and even then, it won’t work most of the time.
Snow Cave
 Moving on, let’s talk about the snow caves we used to make as kids. Building this structure involves creating a pile of snow from your yard before packing it down. You can do this by wrestling with the neighbor kids, jumping on it for a few hours, or sledding on it.
Once you are happy with the mountain you have created, tunnel into it and clear the snow out from inside it until you end up with a cave made from snow.
The problem with this is that this type of structure can be quite dangerous. If it collapses on you, you might suffocate and die.
I can remember way back when I was a child going around the neighborhood to find the huge amounts of snow that were left behind by plow trucks and tunneling right into them. This can work, but when we were kids, we didn’t realize that just above our heads were hundreds of pounds of the cold, wet, white stuff.
The classic snow fort made by kids can actually just be viewed as a disaster just waiting to happen. One more thing to worry about is when you are inside it, there might be other kids climbing on top of it!
It is a good thing that there is actually another option that can be built with relative ease and isn’t dangerous to be in once you have completed it.
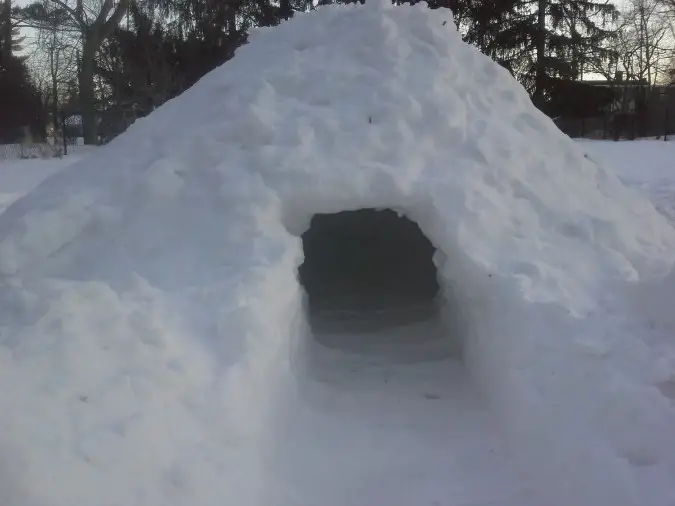
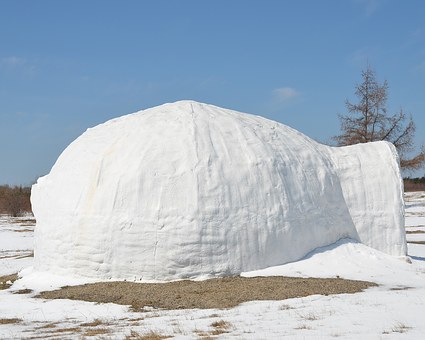
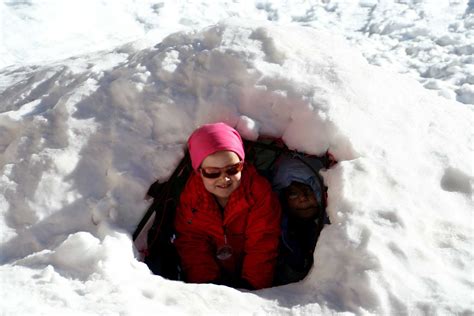
Quinzee
 If you pay attention to anything written on Wikipedia, the word quinzee comes from the Athabascan tribe, who are Native Americans from the north. Alternatively, some people refer to this construct as a Lumitalo. This term is European and refers to a structure similar to this one.
Basically, the quinzee is a symmetrical, smooth dome made of snow that has walls that are as much as 10’’ in thickness.
Once you have built this structure, if the ceiling falls in, you can easily get out of it because of the thin walls and the broad shape of the dome.
In fact, when you build it right, this structure will glow on the inside. The glow is typically either yellow or a brilliant blue because of the sunlight penetrating the structure’s walls. On nights that are dark and moonless, placing a single candle inside the structure will make the entire thing have a yellowish glow when you see it from outside of it.
Additionally, you can make this structure from snow of any type, whether it is moist enough for packing snowballs or dry and powdery.
How to Build the Quinzee
 The first thing you will need to do is to pile up a LOT of snow. In this part, it is similar to the snow cave we discussed above. Just choose where you want it to be and shovel snow until you have a pile that is roughly 10’x10’. Even though you can build this structure any size you like, measurements like this will give it a cool igloo type feel and be able to accommodate a few adults simultaneously.
Get some of your friends or family members to help you shovel this snow and be sure that you are piling it in a symmetrical fashion. The easiest way to accomplish this is to throw each shovel of snow right on the apex of the pile and allow it to trickle down however gravity takes it.
Don’t worry about packing this snow down, just keep adding more shovels of it.
Once you have your giant pile of snow, the next thing you will need to do is to smooth it out a bit from the outside. If you don’t do this, it will still be functional, but the walls won’t have as much strength as they would if you did smooth it.
Make your way all around the pile of snow and pat it down using either your hands or the back of your shovel. It doesn’t need to be perfect, but there shouldn’t be clumps of the snow that jut out in any area.
Ideally, when you finish this part, the entire mound will be smooth. You don’t need to jump on it or even try to pack the snow down. This will probably just damage the overall shape of it. Packing will be done though.
This is a step that can’t be skipped. Go away for a while and allow the snow to sit for a few hours. The longer it sits, the better. This is called sintering it. If you happen to be camping, find something else to do for a few hours. If you are building this in your backyard, let it sit until morning. Leaving it alone for as few as 5 and as much as 12 hours will let it go through the sintering process where the snow will pack itself, crystalize, and get stronger.
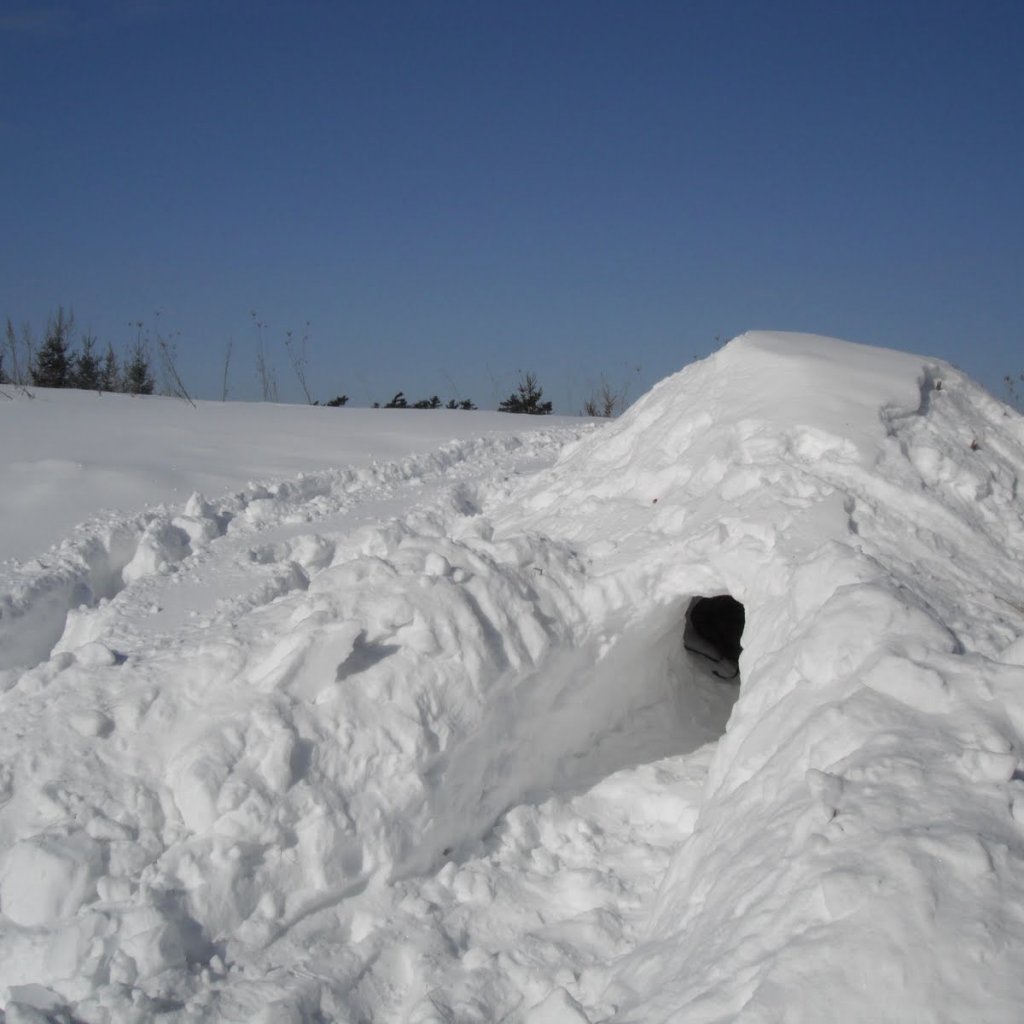
Now you are ready to make the door. Decide where you want it to be. Position it as small and low as possible on whatever side the wind isn’t blowing on. I typically start my door by using a tree saw to cut a block out where I want the door to be. Then, I go a bit deeper, cutting out more blocks as I go. When you do this, a tunnel into the shelter will begin to take its shape.
Your body should still be outside of the quinzee at this point. Continue this process until you can no longer reach in comfortably. When you hit that point, get your shovel and dig the rest of the tunnel out.
This part can be dangerous.
For decades, I have been building these structures in my yard and they never collapsed on top of me, but you still need to be cautious. For safety, you should have someone outside of the structure with a shovel in case it collapses.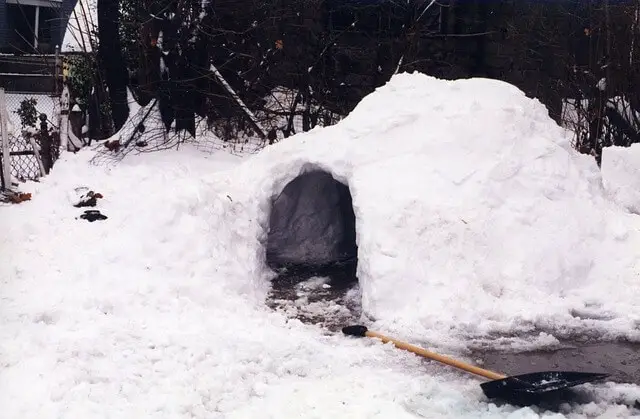
Once you have created a tunnel that reaches all the way to the middle of the pile of snow, crawl into it and start carving out the inside of it. You can use any sort of small tool for this. I use a trowel.
The aim at this point is to get to the middle and then carve and remove all of the snow that is around you. In order to maintain the balance of the structure, you don’t want to dig too much in any one direction at a time. Just dig in a circular direction to remove the snow for 360° all around you. Digging symmetrically like this will help when it comes to keeping the structure intact and not collapsing. Be prepared to get snow all over you, including in your face.
Once you have started carving a space out for yourself inside the structure, it would help to have someone on the outside of it who can use a shovel to remove the snow that you are throwing into the tunnel and entrance. You can take turns with people being inside digging and outside digging.
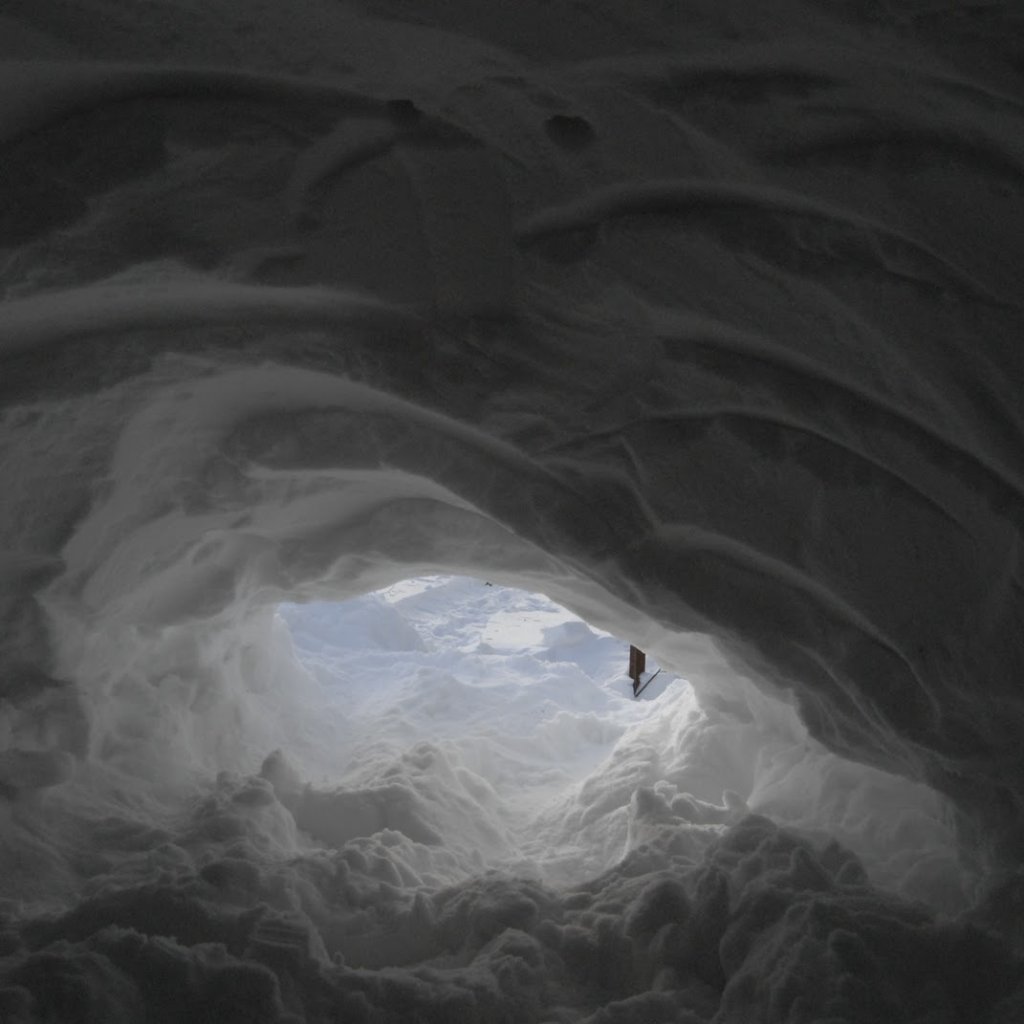
You will get to a point where you have a large space carved out in the middle of the structure, and you might be worried that you will dig through the walls on accident. Don’t concern yourself with this. This is one thing about the quinzee that is really cool. You can continue carving out snow until you notice that the walls are beginning to glow. This will be the light from the sun coming through. The cool thing about having sintered the snow is that it will be translucent for up to 12’’!
Once you have noticed the glow, you will know that you shouldn’t carve any more right there. Keep removing the snow you have carved through the tunnel to get the tunnel and the cave in the middle cleared out.
Important! When you have nearly finished your quinzee, use a pole or stick that has a diameter of about 1/2’’ and punch a few holes from the outside of it down into it from the top. These will be your air holes.
Continue carving the structure out until all of the walls are glowing. You might notice that the bottoms of the walls will need more carving than the tops of them. Keep in mind that you are essentially making a dome. Once you notice that the entire inside of it is glowing, you will be finished with the carving.
 Now, all of the inner walls should be rather smooth from all of the scraping and carving you have done. Run your gloves all around the walls inside to make them even smoother and then dig out the floor… all the way to the ground if you like (although digging down to the grass can get rather messy). At this point, you are past being in danger. Even if the ceiling does fall in on you, the dome will be so wide that 10’’ of snow won’t leave you trapped.
Now it is time for the cool part. When night falls, grab a taper candle and put it in the center of the structure on the floor. Light it, crawl out, and put something like a backpack or the lid from one of your plastic bins over the door. You might also use cardboard even though it will get wet. Step back, and you will notice that the entire structure is glowing!
Let your candle burn all the way down until it burns out. Once this happens, take the cover off the door and allow the structure to sit until morning.
What happens when you do this is the candle will heat the walls of the structure and melt them just a bit. When you take the cover off of the door and allow it to sit until the morning, the cold air will come in and make the walls ice over and this makes it very strong.
All that is left now is for you to enjoy it! Kids especially love quinzees. However, don’t allow them to climb on it because it might break, and they can be injured. Because of the walls icing over, I have had some of the more well-made ones last until spring!
Sources
- YouTube, How to: Build a Quinzhee
- The Art of Manliness, How to Build a Quinzhee Snow Shelter (Illustrated Guide)
- Alderleaf Wilderness College, Building a Quinzhee