


Mountaineering for Beginners: Everything You Should Know
 Mountaineering for Beginners: Everything You Should Know
thegearhunt.com
Mountaineering for Beginners: Everything You Should Know
thegearhunt.com
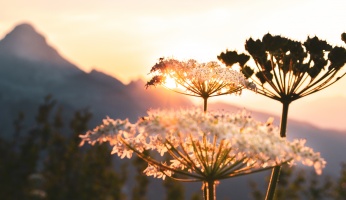
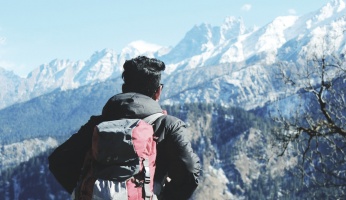
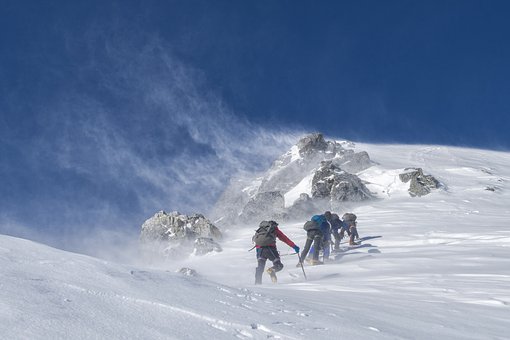
If you love being outdoors or backpacking, but you have always wanted to add a bit of something more to your experiences, mountaineering might just be what you need. This is a relatively uncomplex sport – all you have to do is to make it to the summit of your chosen mountain. The issue lies in the variety of extreme situations you might encounter as you are ever reaching higher heights, but this is a challenge that is welcomed by many people who decide to take part in this sport. If you are already knowledgeable about being outdoors and backpacking, it can be easy to make the switch to mountaineering and begin bagging your peaks quickly. There are only a few things that you might need to know before you get started. Keep in mind that much of this will depend on the size of the mountain and how long you plan to be on your own in the wild. For example, you won’t need nearly as much food if you are going to spend an afternoon on Pike’s Peak, but you will need considerably more if you plan to spend more than a month in Tibet scaling the Himalayas.
Terminology
 Learning the lingo of mountaineering is critical when you begin to read about climbing and even to get through the rest of this short article. The categorizing of mountains is by height. For example, in the US, a mountain of 14,000 feet would be a 14er. Everywhere else in the world it is done in meters, so you would get a 14Ker as opposed to a 14er. Climbs are also graded by their class, which has to do with the exposure and steepness. A trail with no exposure to danger and that is relatively flat would go into Class 1. Classes 2 and 3 will have the possibility of challenging obstacles and are a bit steeper than a Class 1. Class 4 can be described basically as a scramble on your hands and knees. Class 5 is climbing that is very technical and where the climbers are typically belaying each other.
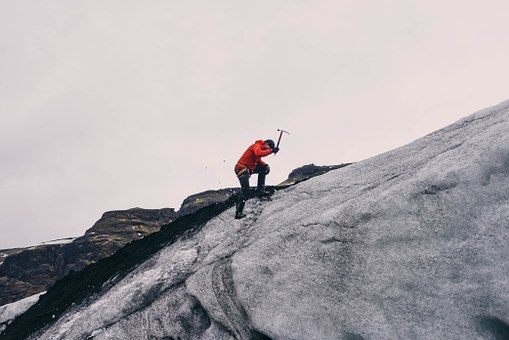
Basic Skills
Most of the 14ers that are in the States will offer routes that aren’t too technical and can be climbed by anyone who is fit. In Colorado, Humboldt Peak is a Class 2/3 summit that is a favorite of many due to its isolation and scenery. Longs and Pikes are classic examples of mountains in the lower classes. However, during the warmer months, they tend to be quite crowded. If you seriously want to begin mountaineering, you will need to first start with rock climbing. Even the larger mountains, such as Everest, are basically Class 2 and 3, but you will want your skills with regard to technical climbing to be as solid as a rock when you get to the 20% of a climb that is more technical. Ideally, you will be climbing 5.9s at your local rock gym or crag with ease.
Basic Gear
 Speed and protection are what you need. You don’t want to learn the hard way that that cheap tent you bought won’t hold up to a storm in the mountains with ice and gusts up to 80 mph. Instead, you should invest in a 4-season tent. You will also need to buy some bivy gear along with some rain protection. If you aren’t familiar with that term, bivy gear is anything that you will need in order to set up a temporary shelter quickly. A simple hiking pole and trash bags will suffice, but then, so does a bivy sack that you can get from many online retailers. You will also need to purchase layering clothes of good quality. In the mountains, you will likely only bring a single set of clothes to last a week, so you need to ensure that it is good quality material and workmanship. Here are a few more specifics regarding what you will need.
One Day Lower Class Scramble Up/Hike
Day pack: This can be just a small backpack. We are looking at climbing, not comfort for backpacking. This pack should be rather light and lack a belt that wraps around and padding for your belly. It needs to be large enough to contain your camp stove if you will be eating meals that are dehydrated, a bit of paracord, and a rain jacket. If you will only be consuming things like trail mix and beef jerky, you will be able to leave the stove at home.
Water purification: On many mountains, there will be a chance to stop for water on the way to the top. However, before you drink it, you will need to purify it. When it comes to this type of situation, you will need some water purification tabs. When you are on a day hike, it won’t make too much sense to stop and have to boil water, and if you don’t have to carry that much weight, why would you? You can get dual packages of tablets that include both iodine as well as an iodine remove, and these will leave any water you find clean and with a pure taste. If there aren’t any opportunities for you to get water, you will need to pack a minimum of 4 bottles of water.
Rain jacket: You will also want to pack a lightweight rain jacket that is made from Gore-Tex or some other breathable, waterproof material. You will need this even when there are no clouds in the sky. This jacket can actually do double duty as a quick makeshift shelter if the weather does happen to take a turn for the worst. Bring string or paracord along just for this shelter or for other purposes. This might seem to be a bit silly, but people do get lost easily on mountains.
First aid kit: for the most basic first aid kit, you will need athletic tape and an ace bandage. You can put your iodine tabs into double duty as a way to sterilize any wounds you might sustain. This means that you won’t need to added weight of any sort of creams for sterilizing them. You can also use your tape and bandage for quite a few other things. These can include makeshift gloves in the event that there is a massive crack on your route.
Food: When it comes to food, enough for 2 meals can be sufficient, or even one if you are traveling light and don’t want to cook either your breakfast or your lunch. You will need the calories in order to reach your peak performance, and meals that are dehydrated are both extremely light and relatively cost-efficient. A meal that is cooked will give you about half an hour to just sit back, relax, and just take in the amazing scenery. That being said, if you are running behind schedule and the weather appears to be turning, you might not have the time to cook a meal. For that reason, you should always pack a quick snack regardless of what your plans might be.
Headlamp: You enjoy getting an early start? That is great! If you will be getting started before the sun appears, a headlamp will be a necessity. Even if you are just taking a short half-day hike, you still need to bring one. If the weather turns and night falls, it can be nearly impossible to make your way down safely without this piece of equipment. This headlamp should be able to go right around your helmet if you will be wearing one, and it should also be adjustable so that it will fit right around your bare head.
Single Day Technical Climbs
 Mostly, this is just the same as the list above, because the majority of climbs of this type will remain scrambling and hiking. However, you will need just a few more things when there is a climb that is more advanced. The following will just give you an idea about some of the additional gear that you will need to make a technical pitch that is Class 5.
Helmet: Your helmet needs to be one that is certified for climbing and made by a company that is reputable. It should be adjustable too. During ascents in the warmer months, it will fit right on your bare head, but when the weather turns colder, you will more than likely either have your hood up or be wearing a cap.
Dynamic rope: When it comes to the rope, take a look at what your longest pitch will be and make sure the rope is quite a bit longer. Most ropes will be about 70 meters. If the pitches are less than 75ft, you can cut a larger rope in half or order one that is shorter for those pitches that are short. This rope should be a single dynamic rope. There is a time and place for double ropes, but that isn’t here and now. The rope should be waterproof and treated. When it comes to sport climbing, you might use a rope that isn’t treated, but when it comes to being in the mountains, there are way too many ways that moisture can get into the rope and make it heavier.
Trad gear: It will be best if you read a book or take a class on this. Your basic Alpine rack will consist of nylon loops that will be used to extend your anchors when your path isn’t straight. These are known as slings. It will also have quite a few nuts, hexes, cams, and locking as well as non-locking carabiners. Because these things will be used as your lifeline, you really need to get a book or two or take a class and then practice what you learn on your local crag before you take it up a mountain.
Packing
 Don’t act like a novice and take 100 lbs of assorted gear up the mountain on your first trip. You will only need an extra pair of undies and a couple of extra pairs of socks. You will wear your pants and shirt for the whole trip. Bring baby wipes and Gold Bond so that you will be able to take a makeshift shower. Just pack your Gold Bond in the same bag you pack the wipes in. Remember that you will need to get everything that will be needed for a week into a single bag. You will obviously need food, but it should be dehydrated, and you will need to take it apart before packing it. If you will be doing summit pushes or acclimatization hikes, you will also need an additional smaller bag. You won’t need to take 4 days worth of food for that 5 hours you will spend away from camp. You will need to be fast and light.
Planning
There are all sorts of sources when it comes to mountain routes. If you will be in Colorado, you might want to check out 14ers.com. There are also quite a few books that are available regarding the larger mountains such as the Matterhorn. Make sure to read up on your destination before starting out on your trip. You might even want to join a forum if you have any questions. Bring pictures with you as well as a topographical map and a compass.
A Few Final Bits of Advice
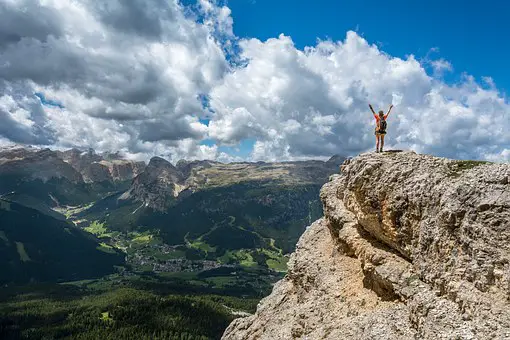
 Remember to pitch your tent in an area that will be out of the wind. You might dig a ledge out of the snow or find a cove of trees or boulders. You should also know that mountain winds can change by the day, so be ready to move camp if necessary. Remember to stay hydrated. At altitude, you will need to ingest twice the amount of water as you would need if you were at home. If you get a headache, stop and rest immediately. If it gets worse, go back down at once. Begin climbing while it is still dark out and be ready to head back down in the early part of the afternoon. Always remember that a daring mountaineer is also a short-lived one. That mountain isn’t going anywhere.
Sources
- You Tube, Rock Climbing for Beginners – Video 1 – Introduction to Rock Climbing
- Wiki How, How to Climb a Mountain
- Out There Colorado, Colorado Mountain Climbing: 6 Things You Need to Know
- Matador Network, How to get into Mountaineering