


How to Split Wood: A Beginner’s Guide
 How to Split Wood: A Beginner’s Guide
thegearhunt.com
How to Split Wood: A Beginner’s Guide
thegearhunt.com
Splitting wood can be a pleasurable activity on you have mastered both the tools involved and the technique. At first glance, chopping stove wood to the right size might seem to be an imprecise and ponderous activity that doesn’t require much more than simple brute force. However, there couldn’t be anything further from the truth. Instead, there is an art to chopping wood. The skilled person who works with as opposed to against the wood they are handling can split much more fuel in any given time than some muscle head who attempts to simply club the wood to pieces. In fact, there are a lot of experienced wood splitters, both briefcase laden urbanites and chore laden homesteaders, who have honed the skills to the point where they view chopping wood as one of the more enjoyable things in life.
Even if you haven’t even cracked a twig, you can become accomplished at this activity. To do that, you will need a few tools that are available everywhere, and the basics that you will find in the following paragraphs. You will also need some wood to split and a little bit of practice.
Tools
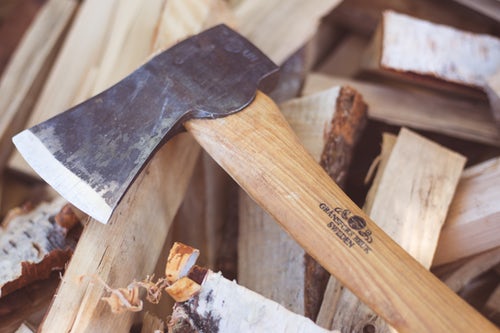 The tools that are used most often for chopping wood include a splitting maul of 8 pounds, a sledgehammer of middle size, a pair of steel wedges, and a splitting axe with a single blade.
Even though you will need these tools, not all of them will be necessary at first. You can get started with just the workhorse of log splitting – the maul, and a pair of wedges. The maul’s blade can be used to crack open quite a few billets, while the rear end of it can be used to drive the wedges in. Also, remember never to use the butt end of your axe for pounding because it might crack the thin head.
Technique
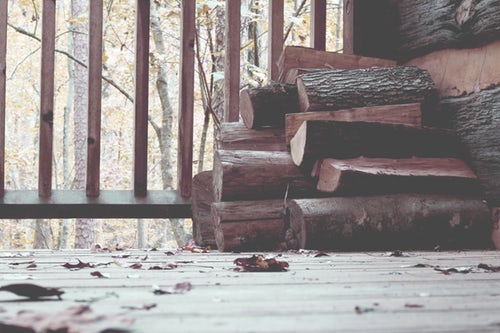
 Probably the most important thing to remember when you are cutting wood is to always place your rounds that you will be breaking on a chopping block that is short. Giving them a base like this will give solid resistance to your blows, and this will increase the penetration of the stroke and guarantee that when the maul finally breaks through that billet, the blade of the tool will end up in wood as opposed to slamming into stones or the earth.
Once you have set your wood up on the chopping block, you should stand back from it with your arms extended. Make sure that your feet are firmly and squarely planted apart. If you want to ensure your safety, you should be wearing long pants and sturdy boots. Then, just line your maul up over the intended target and take a swing at it.
Some people try to have pinpoint accuracy, and to get that, they will lift the maul straight up over their heads. Others prefer to get more power by swinging the maul back around the shoulders. There is also always the single person who will let their top gripping hand slide to the head of the splitter on their upswing, and then another person might keep both hands clenched in a golf grip. You will just have to practice and experiment in order to come to a decision regarding which method will work better for you.
It doesn’t really matter which way you decide to attack your billets. You should always remember to allow the weight of the maul to do all of the work. Additionally, make sure that you are hitting the rounds flush. That means that the handle of your maul should be at a 90-degree angle in regard to the log it is hitting. You might need to bend your knees a bit as you are swinging down in order to get a hit that is straight on, but a blow of this nature will definitely increase the efficiency of your splitting. It can also assist in ensuring that if the maul glances off of the side of the log, the toll won’t be able to swing down and split your leg.
In order to gain accuracy, you should concentrate on aiming for a target that is quite small. Also, when you are swinging, be optimistic. Don’t visualize the maul hitting the top of the wood and then bouncing off. Instead, concentrate on it going down through the wood completely.
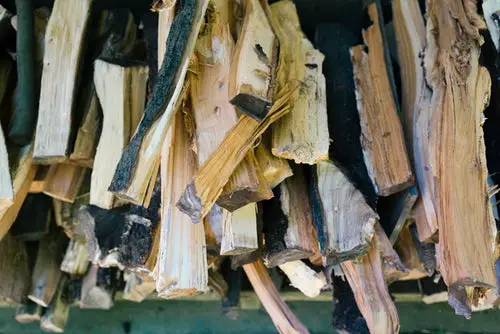
Splitting the Checks
 One of the major aspects of splitting wood efficiently is trying to determine the best areas to strike. It is difficult to go wrong if you attempt to cut one of the tiny cracks (aka checks) that radiate out from the middle of most billets. These openings mark those lines that the wood ‘wants’ to be cut on. Because of this, it only makes good sense that you should cooperate with that and save yourself some work in the process.
It is most often best to aim your stroke at the near side of the wood – especially once you have struck it a time or two and the crack is starting to widen – as opposed to right down the middle of that opening. By doing this, you will reduce your chances that the maul will get stuck or that the handle of your tool will run into a few fibers that are stubborn once the head breaks through. Occasionally, a maul will become stuck. When this happens, you might find out that it can be easier to get it free if you push down on its handle as opposed to pulling it up. Be careful though because you might break the stem as a result.
Sooner or later, the force of all of those swings you missed will add up. This will mean that you will need to replace the handle of the maul. The worst aspect of this chore lies in getting the remaining bits of wood that are stuck in its head out. That is a job that might go more smoothly if you take a drill and drill a few holes in the fragment of wood before you begin to attempt to drive it out.
Split Up
 The grain of the wood fibers tends to flow in the exact same direction that the tree grew in. From the ground up. Because of this, you might come to find that splitting wood can be easier when you stand each of the rounds you will be cutting upside down before splitting it in the same direction in which it grew. You can easily tell which end was higher if one end is smaller, or if the piece has any branches. Just remember that offshoots tend to grow towards the sun.
I stick to my rule about going from the ground up, but I also have to admit that not every experienced wood splitter will concern themselves with it. Alternatively, many of them will just attack the end of the log that is the farthest away from a massive knot or the end that features the more predominant checks.
Unruly Rounds
 Most of the rounds you attempt to split will yield within just a few blows of the maul. That being said, you might encounter the bane of all woodcutters – one of those gnarly grained, tough-fibered, cussed, mule-headed, ornery chunks that just refuses to cooperate. The real art to breaking billets comes in being able to judge the best technique to use on those hard to split rounds.
If the log is just too thick to be split by a maul, you might need to halve it with the wedges. Just set one of the prying triangles into one of its checks using a few blows of the backside of your maul. You can also use a mallet or sledgehammer to drive it in. If you happen to be positive that the wedge will work, knock it down all the way. However, if the log appears to have a stubborn streak, you should leave the head of your wedge sticking out and begin with a second wedge – either along the split that should have begun down the side of the log or on the opposite side of the check. If this wedge also fails, you can always knock the first one out before driving it right into the side. With a bit of luck, the wood will soon split. If all you have managed to do is sink the wedges in deep enough so that you can’t get them out, you can always resort to using a wooden wedge or glut to retrieve them.
Another way to deal with a thick round – and often easier – is to simply whittle it down to a manageable size by slicing parts of it off using your maul. Once you have worked your way around the outside of it a time or two, the center of it should have been made small enough for you to be able to split it open.
Larger logs will take a bit of work to get them open, but there are two types that can truly elicit those expletives that are unprintable from woodcutters. Those are timbers with crotches and those with knots.
Some people recommend that you tackle knots by attempting to split them right through the middle of the outgrowths of branches. Personally, it is easier for me, at least while halving it, to avoid the trouble altogether by splitting it at right angles to the sections that will stop your maul.
Crotches are even less amusing for woodcutters. When you have to wrestle with one of these pieces, you might begin by splitting off a section on the outside of each one of the legs and then by cracking the remaining wishbone piece right from the bottom, and along the line that you will notice running through the middle of each leg. Alternatively, you can cut both halves apart using a chainsaw, and then use the saw to split each of the legs open. This technique can save you both work and frustration. Whatever you end up doing, it is not advised to attempt to split those legs apart right at the crotch. It just isn’t likely to work very well.
Stay Away from Splitting Headaches
Wasting energy and time on any piece of wood that is recalcitrant is a good way to ensure that you have a frustrating and miserable time out at your pile of wood. You will also be hindering the amount of useful work that gets done. In my humble opinion, when you come across a piece of wood that isn’t being overly cooperative, either use a chain saw to cut it or just toss it aside.
Three Rules
Allow me to sum this article up by leaving you with 3 guidelines regarding cutting wood.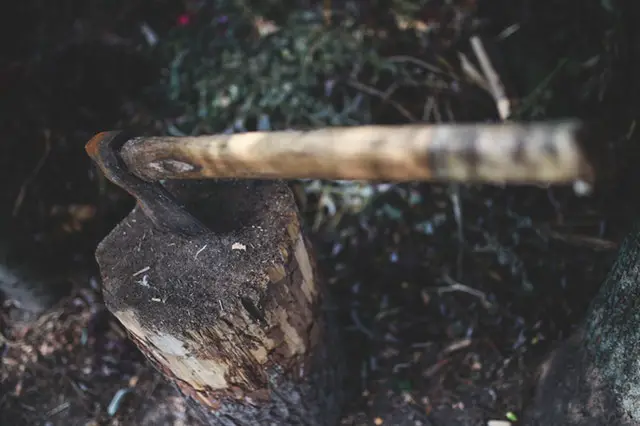
- Work safely. Never attempt to cut pieces of wood between your legs or attempt to free tools that are stuck by lifting the entire piece of wood, by the handle of the tool, over your head. Never attempt to cut kindling by holding your axe with one of your hands and the wood with your other hand.
- Find the easy way. Try to determine an approach that will essentially unlock each piece of wood as easily as you can.
- Don’t overdo it. Stop when you get tired. You will be leaving more exercise for you to enjoy on another day. If working to lift and split the logs and then stack them start to hurt your back, may try doing some sit-ups in order to tone the core muscles.
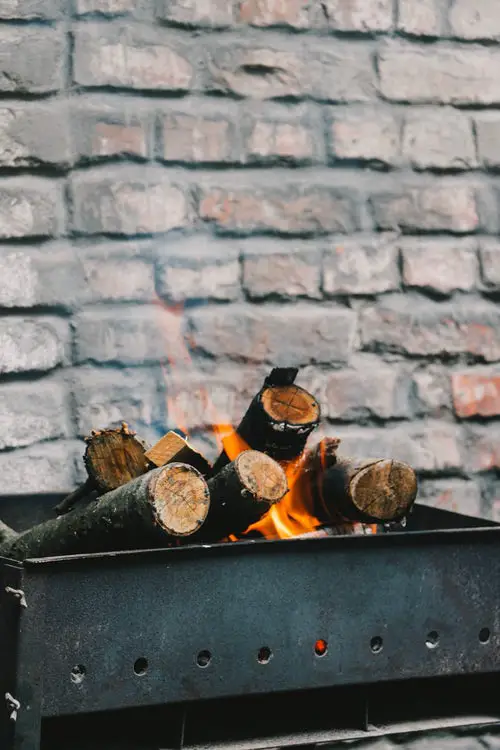
There is barely another feeling in the world that is more satisfying than swinging a maul on a crisp, clear day and watching it cleanly and smoothly get your firewood chopped properly.
Sources
- You Tube, How to Split Firewood Properly
- The Art of Manliness, How to Split Firewood
- This Old House, How to Split Logs for Firewood
- Popular Mechanics, The Ultimate Guide to Cutting and Splitting Firewood